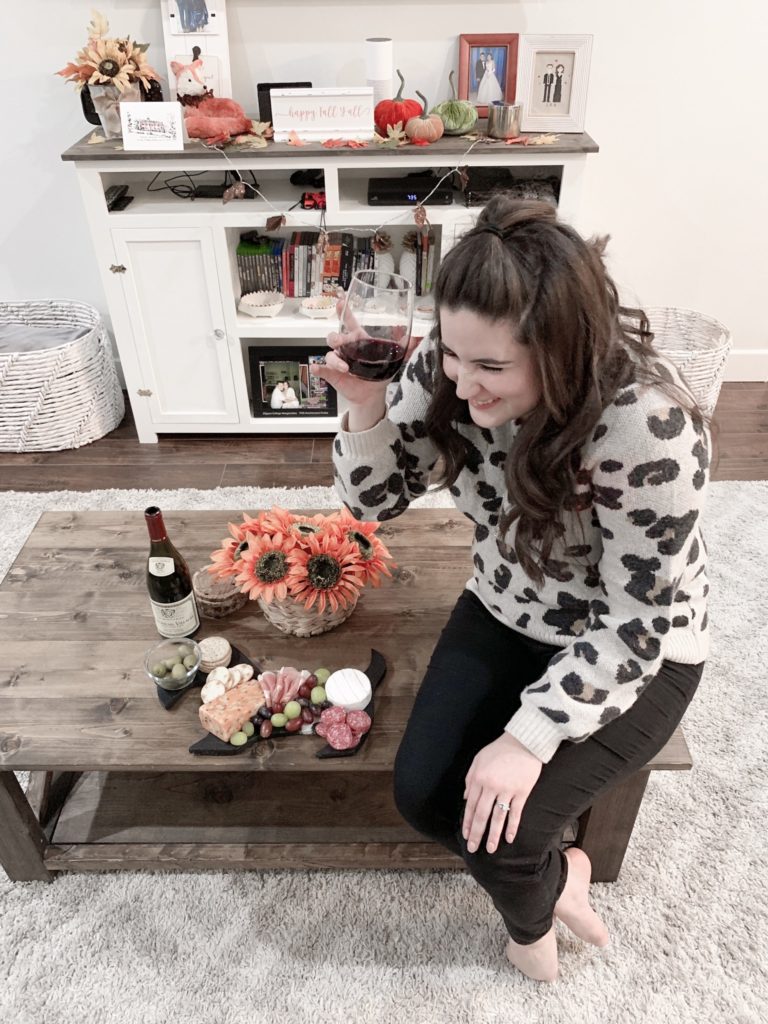
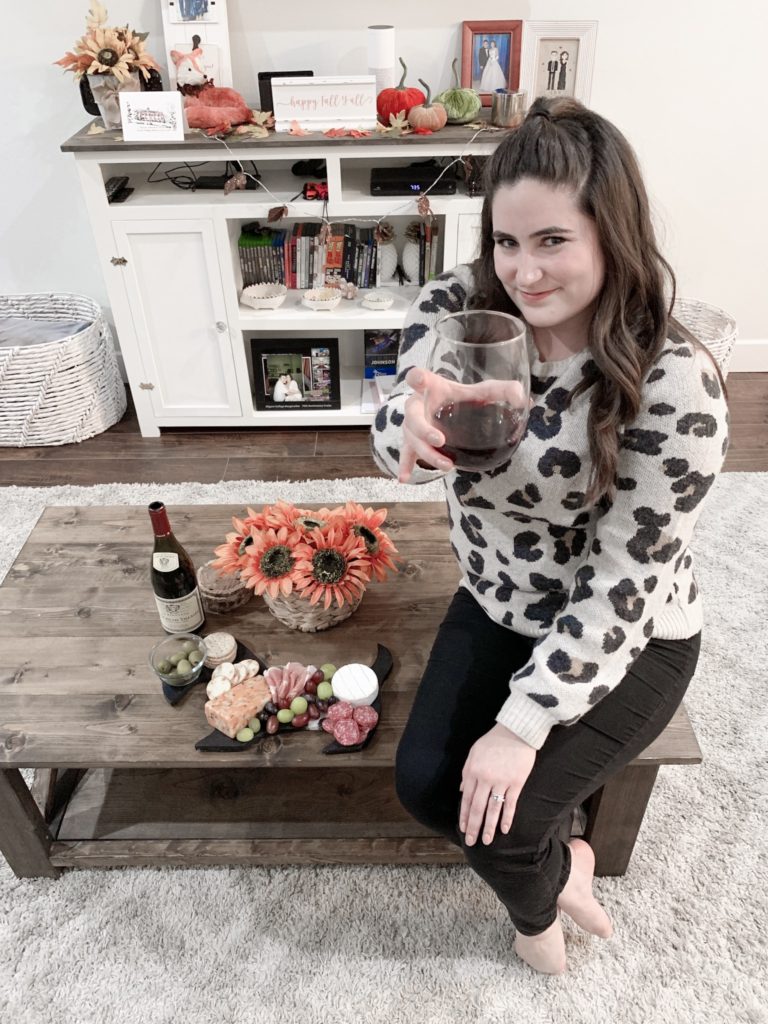
Welcome back, my friends! Last weekend, my high school bestie, Andrea, and I celebrated the end of the work week with a girls-night-in. We hadn’t hung out in a week’s time and wanted to make our girl time as special as possible, so we decided to put together a cheese and charcuterie board. I had never put together my own cheese board out of fear that it would be ugly or not tasty. Luckily, as with most things in life, anything is achievable with a good girlfriend by your side! If you follow me on Instagram, you received a preview of how and what we did to make the perfect charcuterie & cheese board, but IF YOU DIDN’T, here’s a step-by-step guide on how to make a perfectly easy charcuterie & cheese board for two!
STEP 1: ASSEMBLE THE GOODS

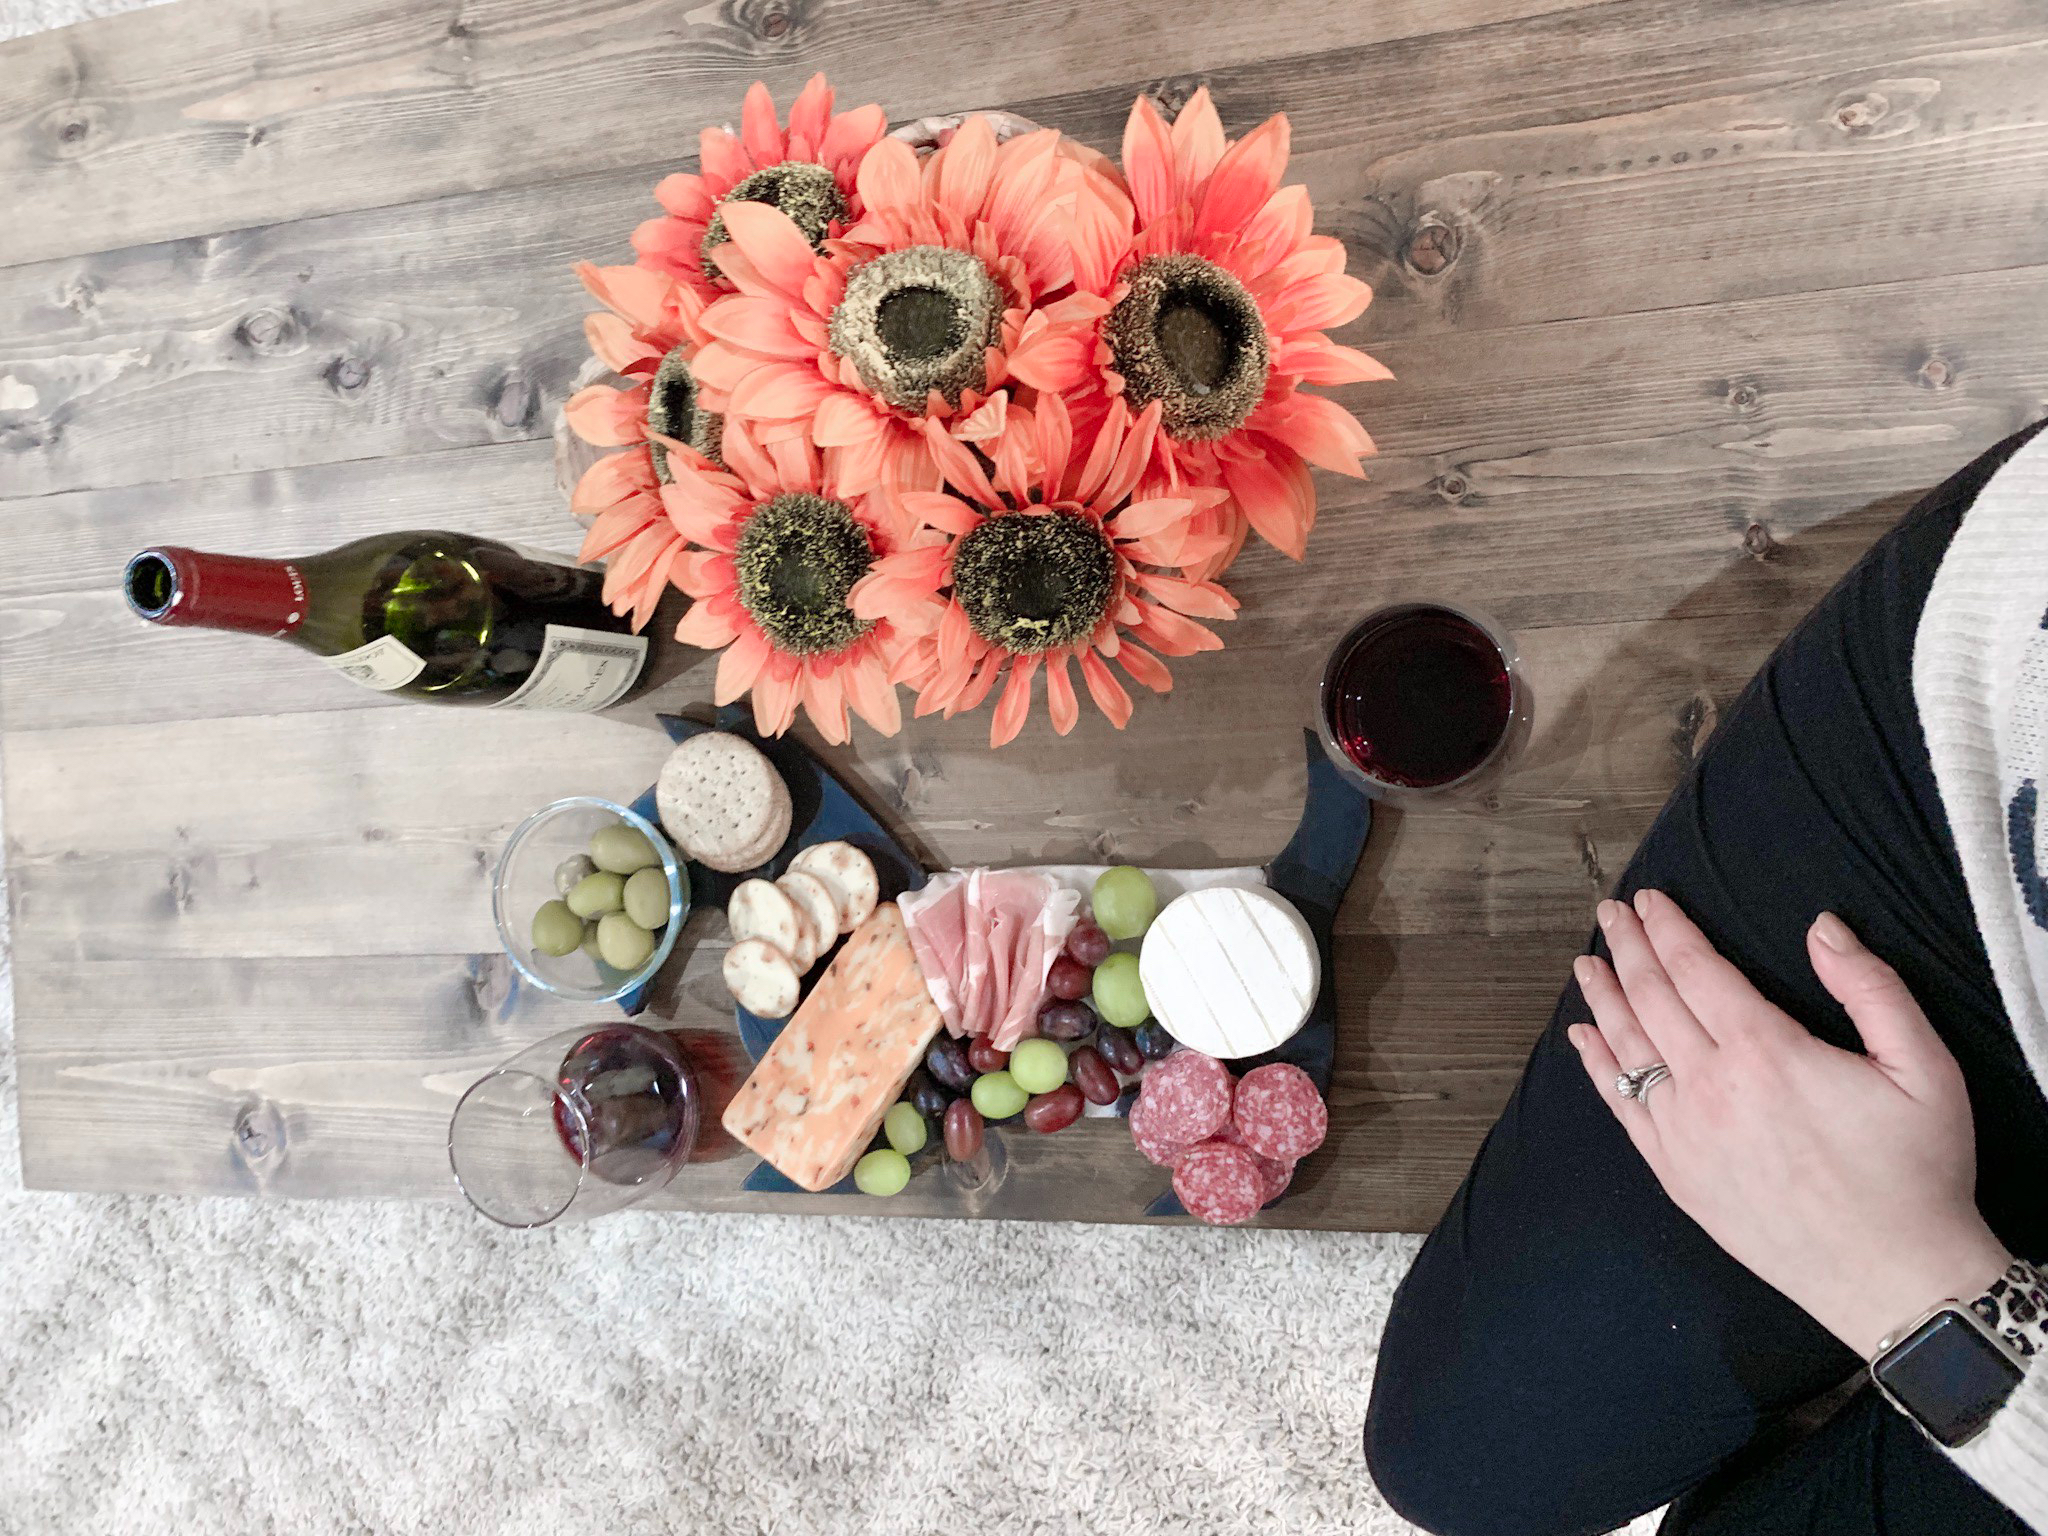
We made a quick trip to H-E-B to pick up every item pictured above! We even got advice on a great wine to pair with our board (It was amazing, and I’m not typically a red wine fan)! As we add things to the board, I will link AND name each of the items we chose.
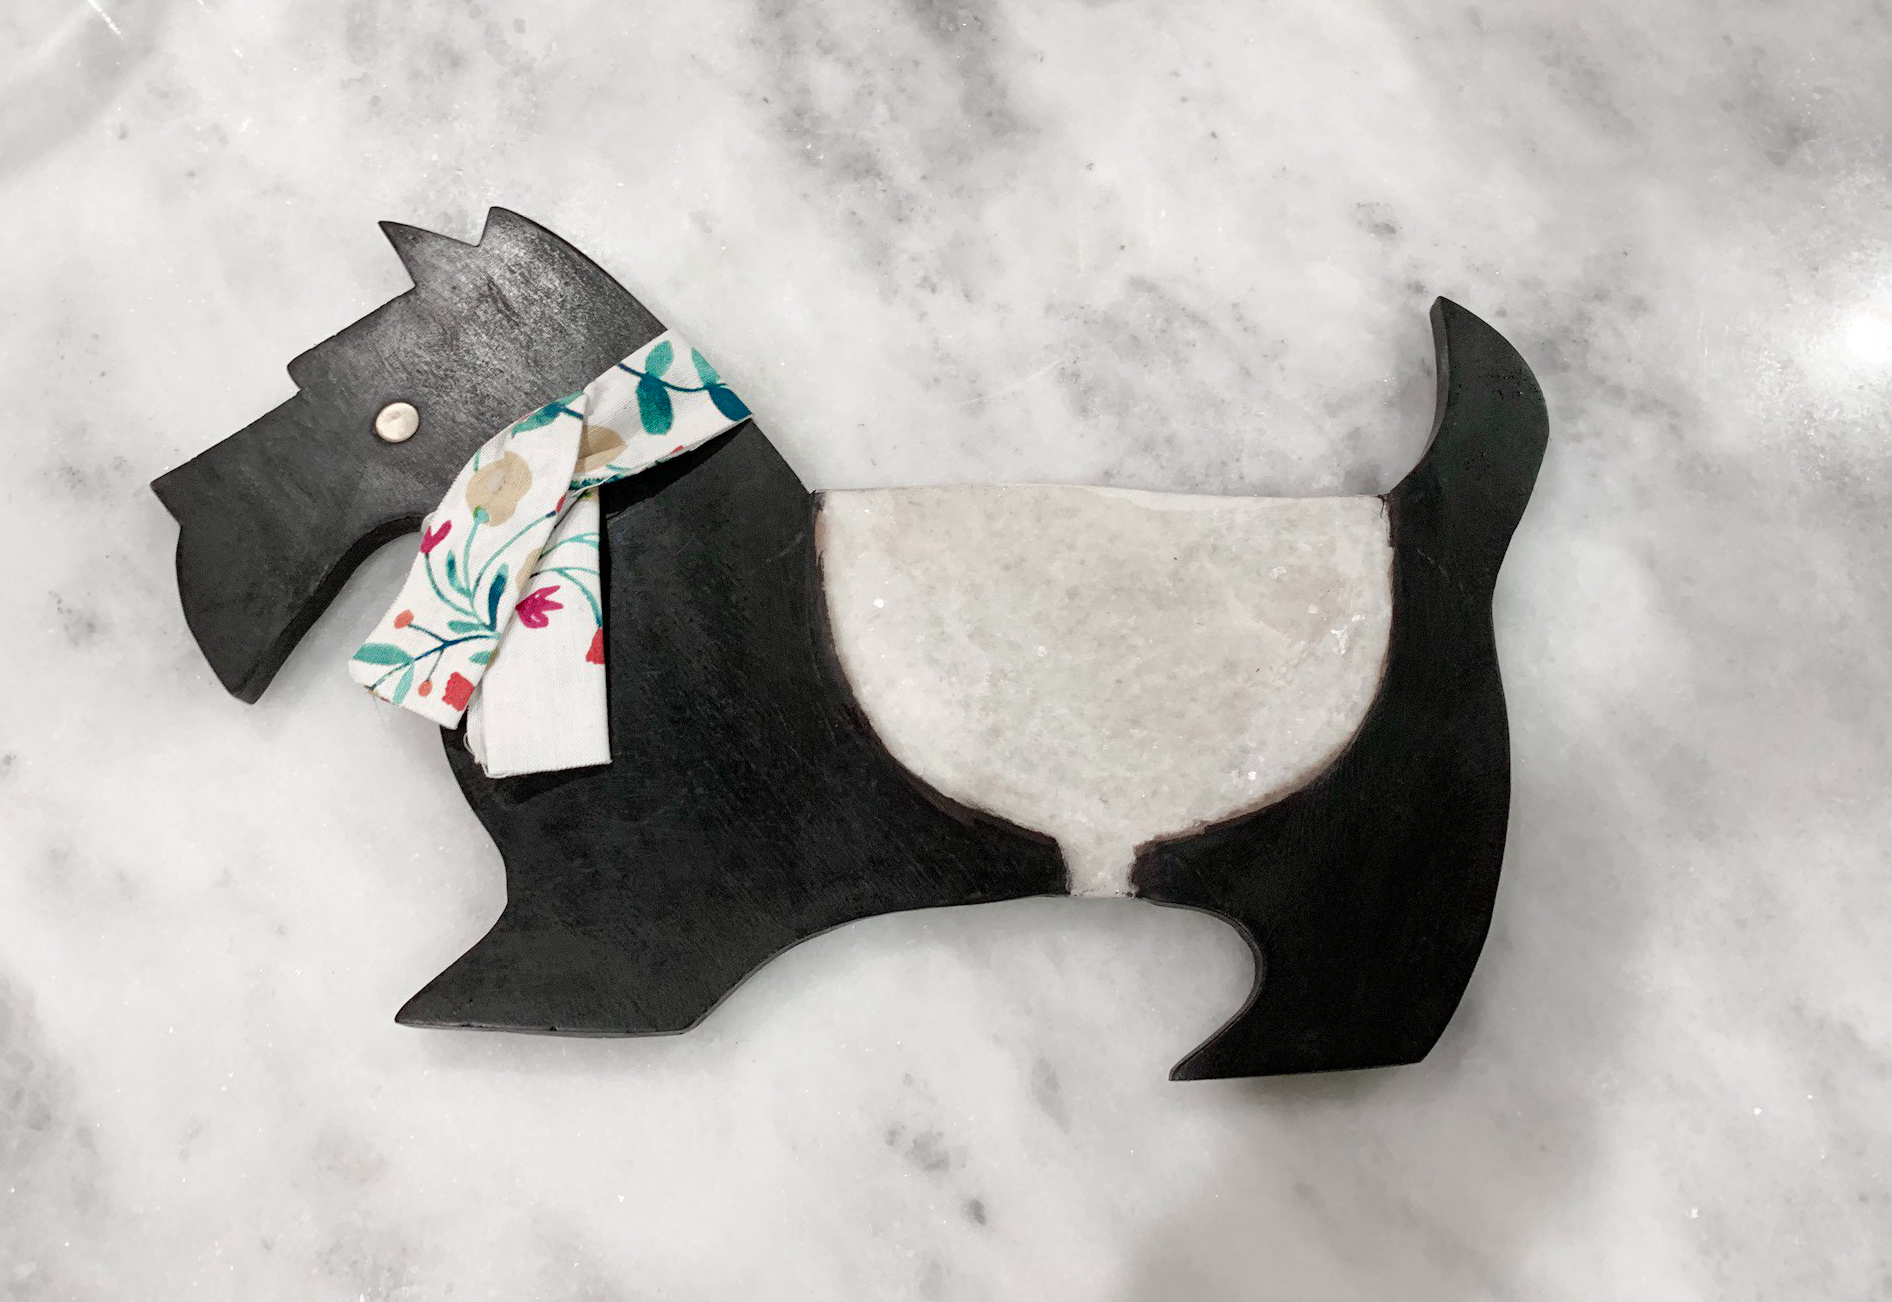
I purchased this cheese board from Anthropologie when we started building our home two years ago! You could say I was definitely excited to have my own space! This is the exact board I have on eBay (for my fellow dog lovers) and here, here, and here are some cheese boards are some that I feel would be wonderful gifts for you or a friend!
STEP 2: ADD THE CHEESES
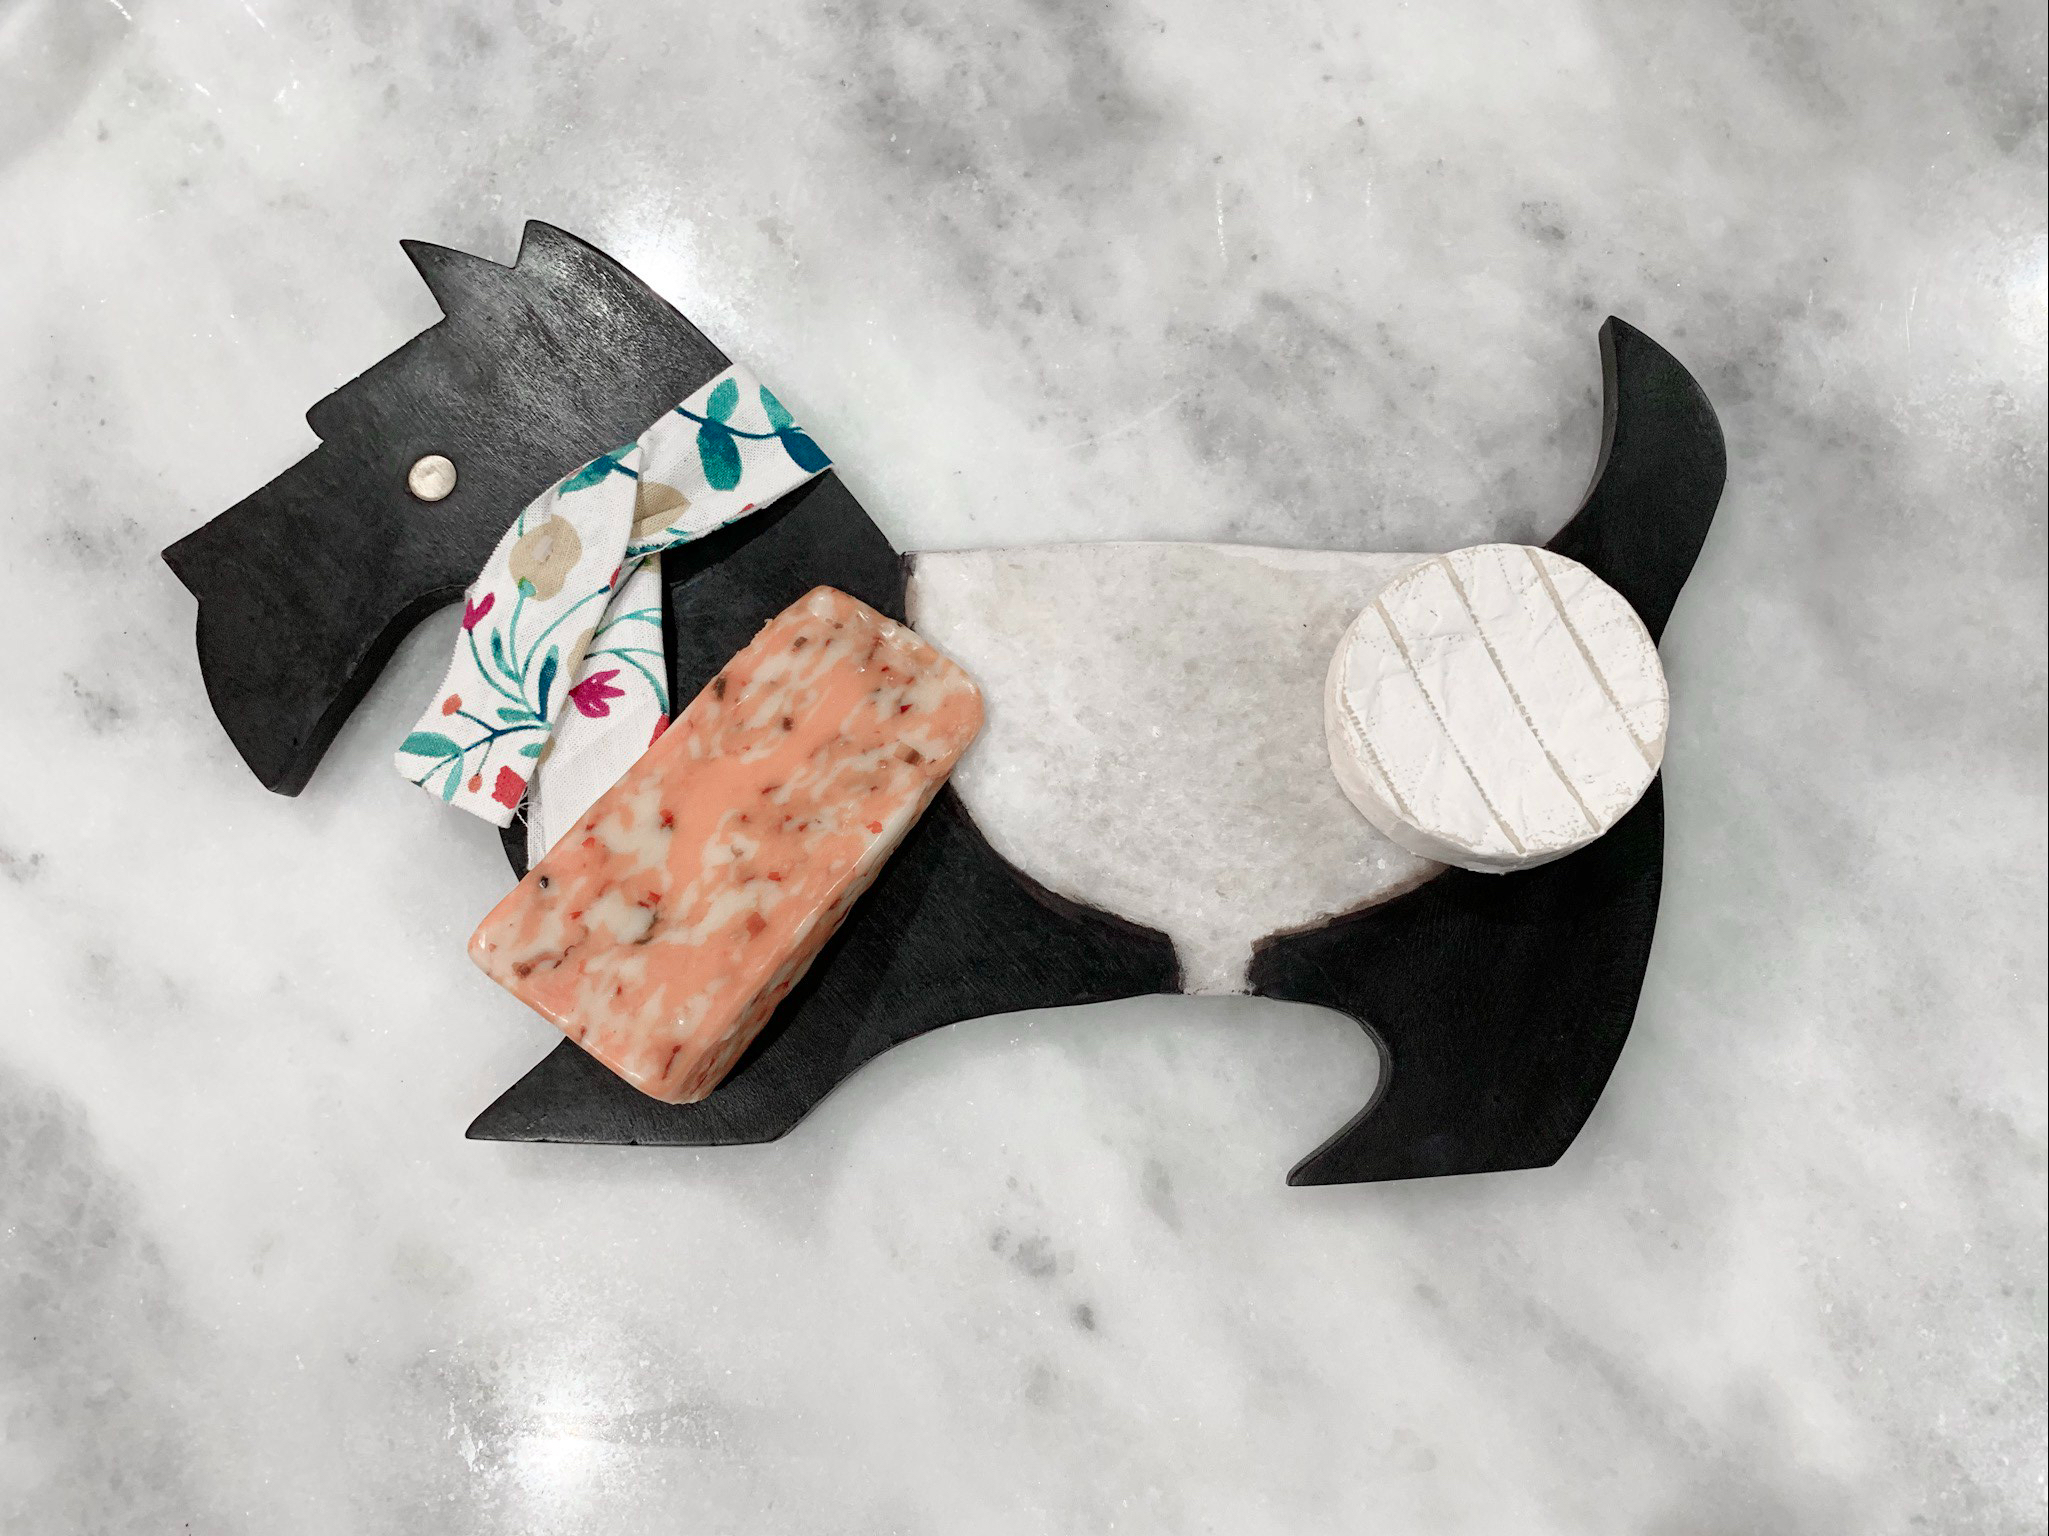
Cheese Details: Brie.3 Pepper Colby Jack.
My biggest question about making a cheese board had everything to do with what cheese to choose! The science behind this was simple: one soft cheese (Brie) and one hard cheese (pepper jack- with some spice for an extra kick!). EASY! Trust me, that really all there is to it!
Step 3: ADD THE CHARCUTERIE (THE MEATS!)
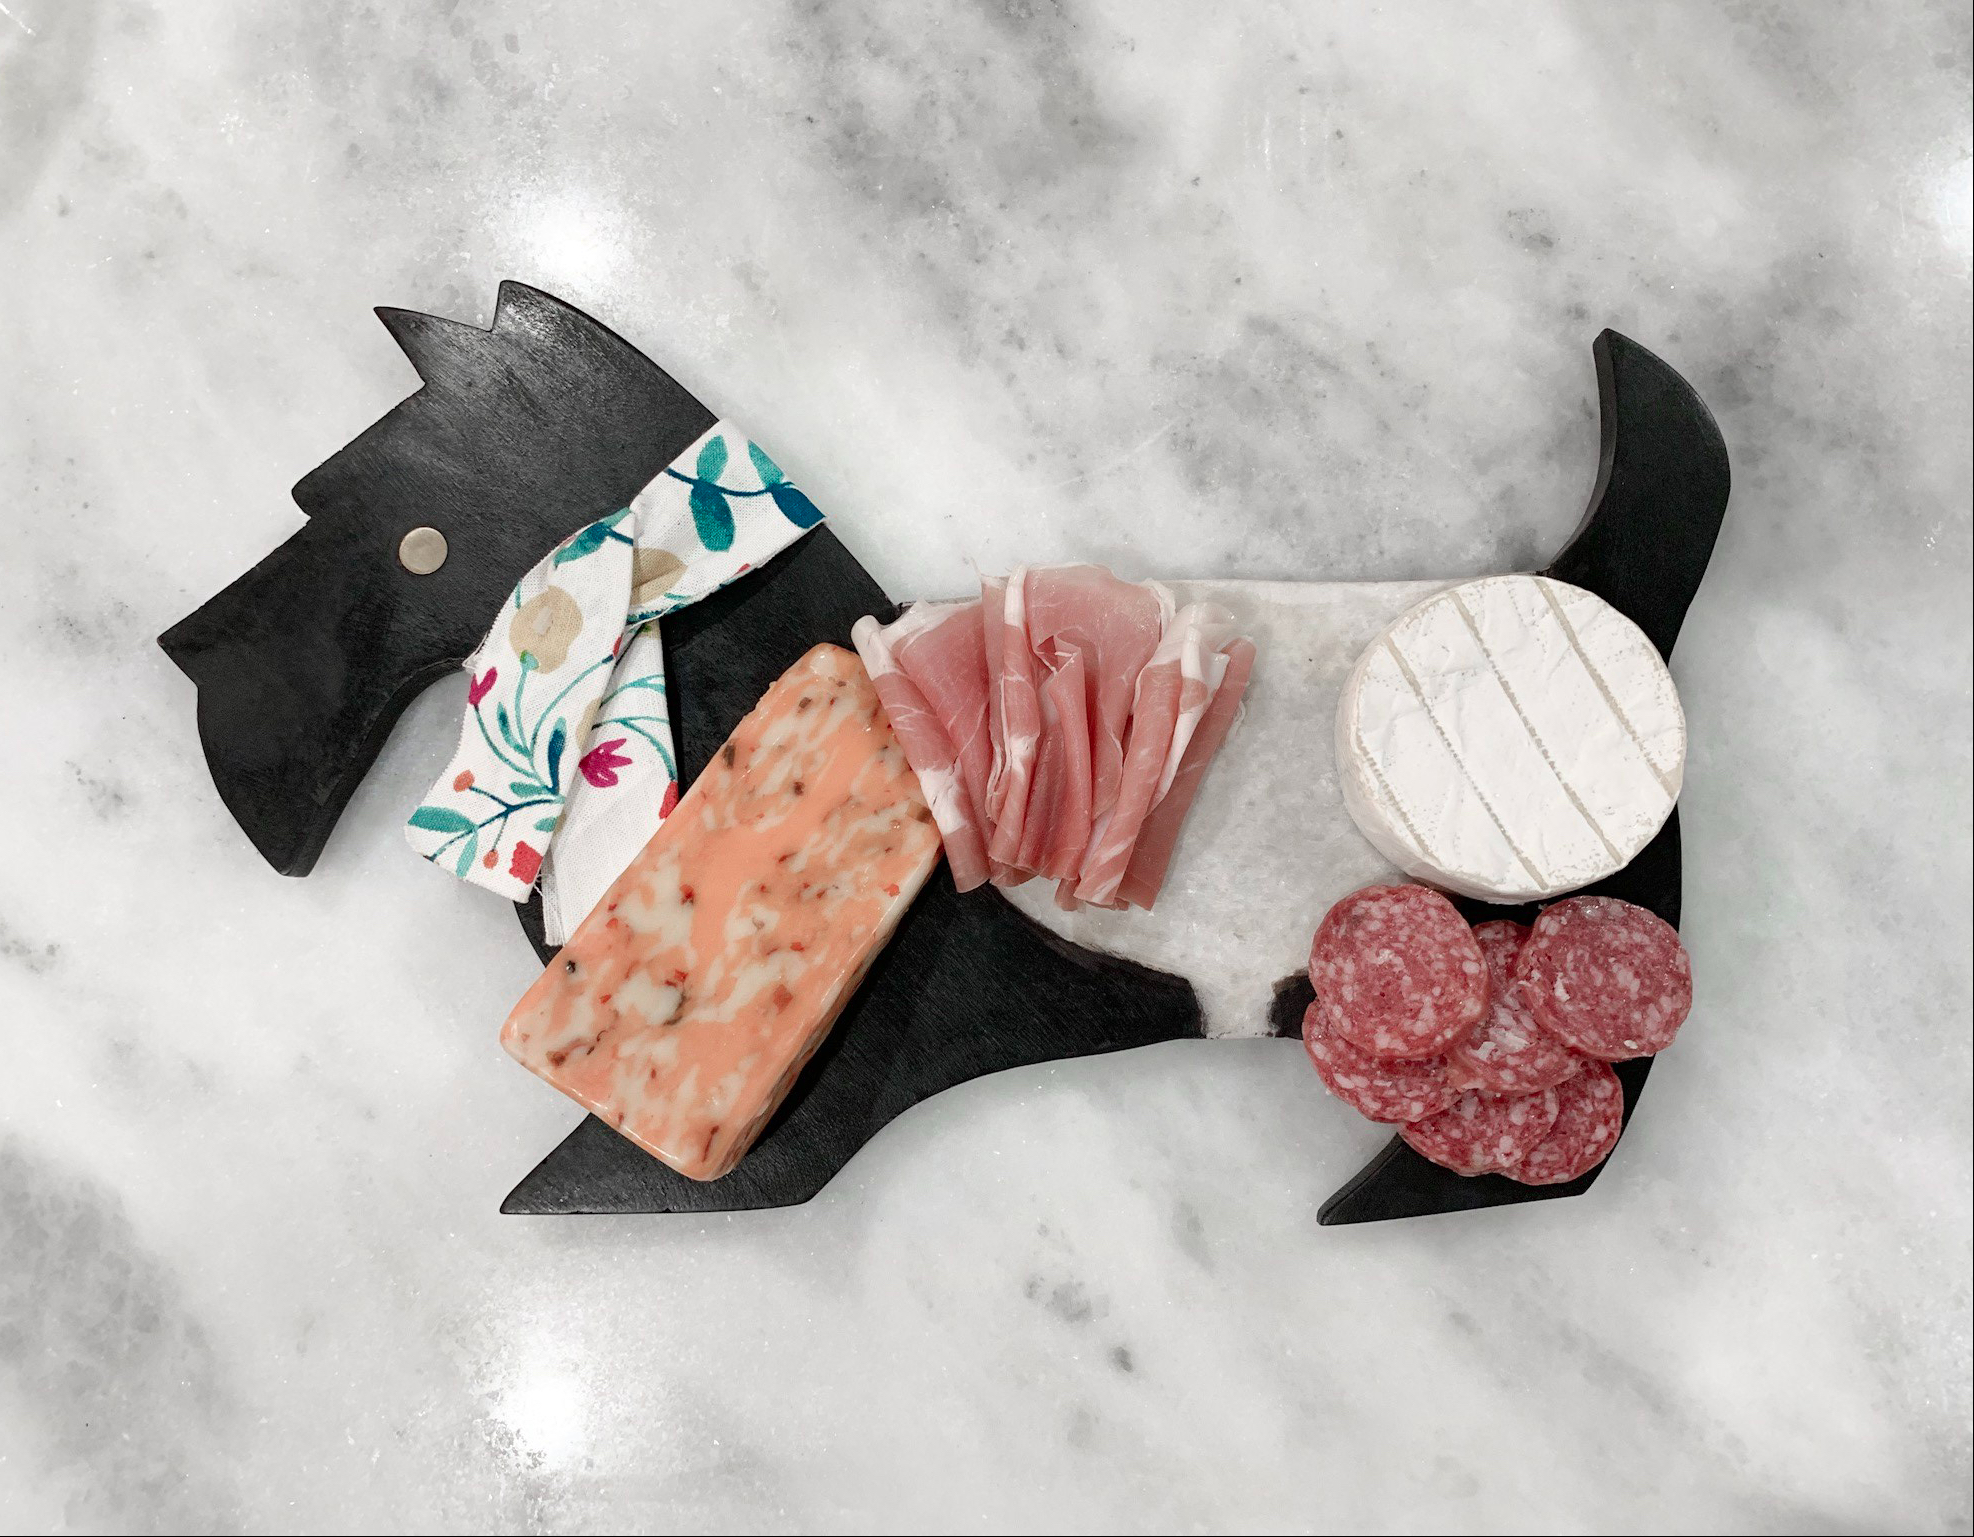
Charcuterie Details: Prosciutto.Salami.
For our meats, we chose prosciutto (because it’s not a charcuterie board if there is no prosciutto!) for a saltier flavor and the salami to add some spice!
STEP 3: ADD THE CRACKERS
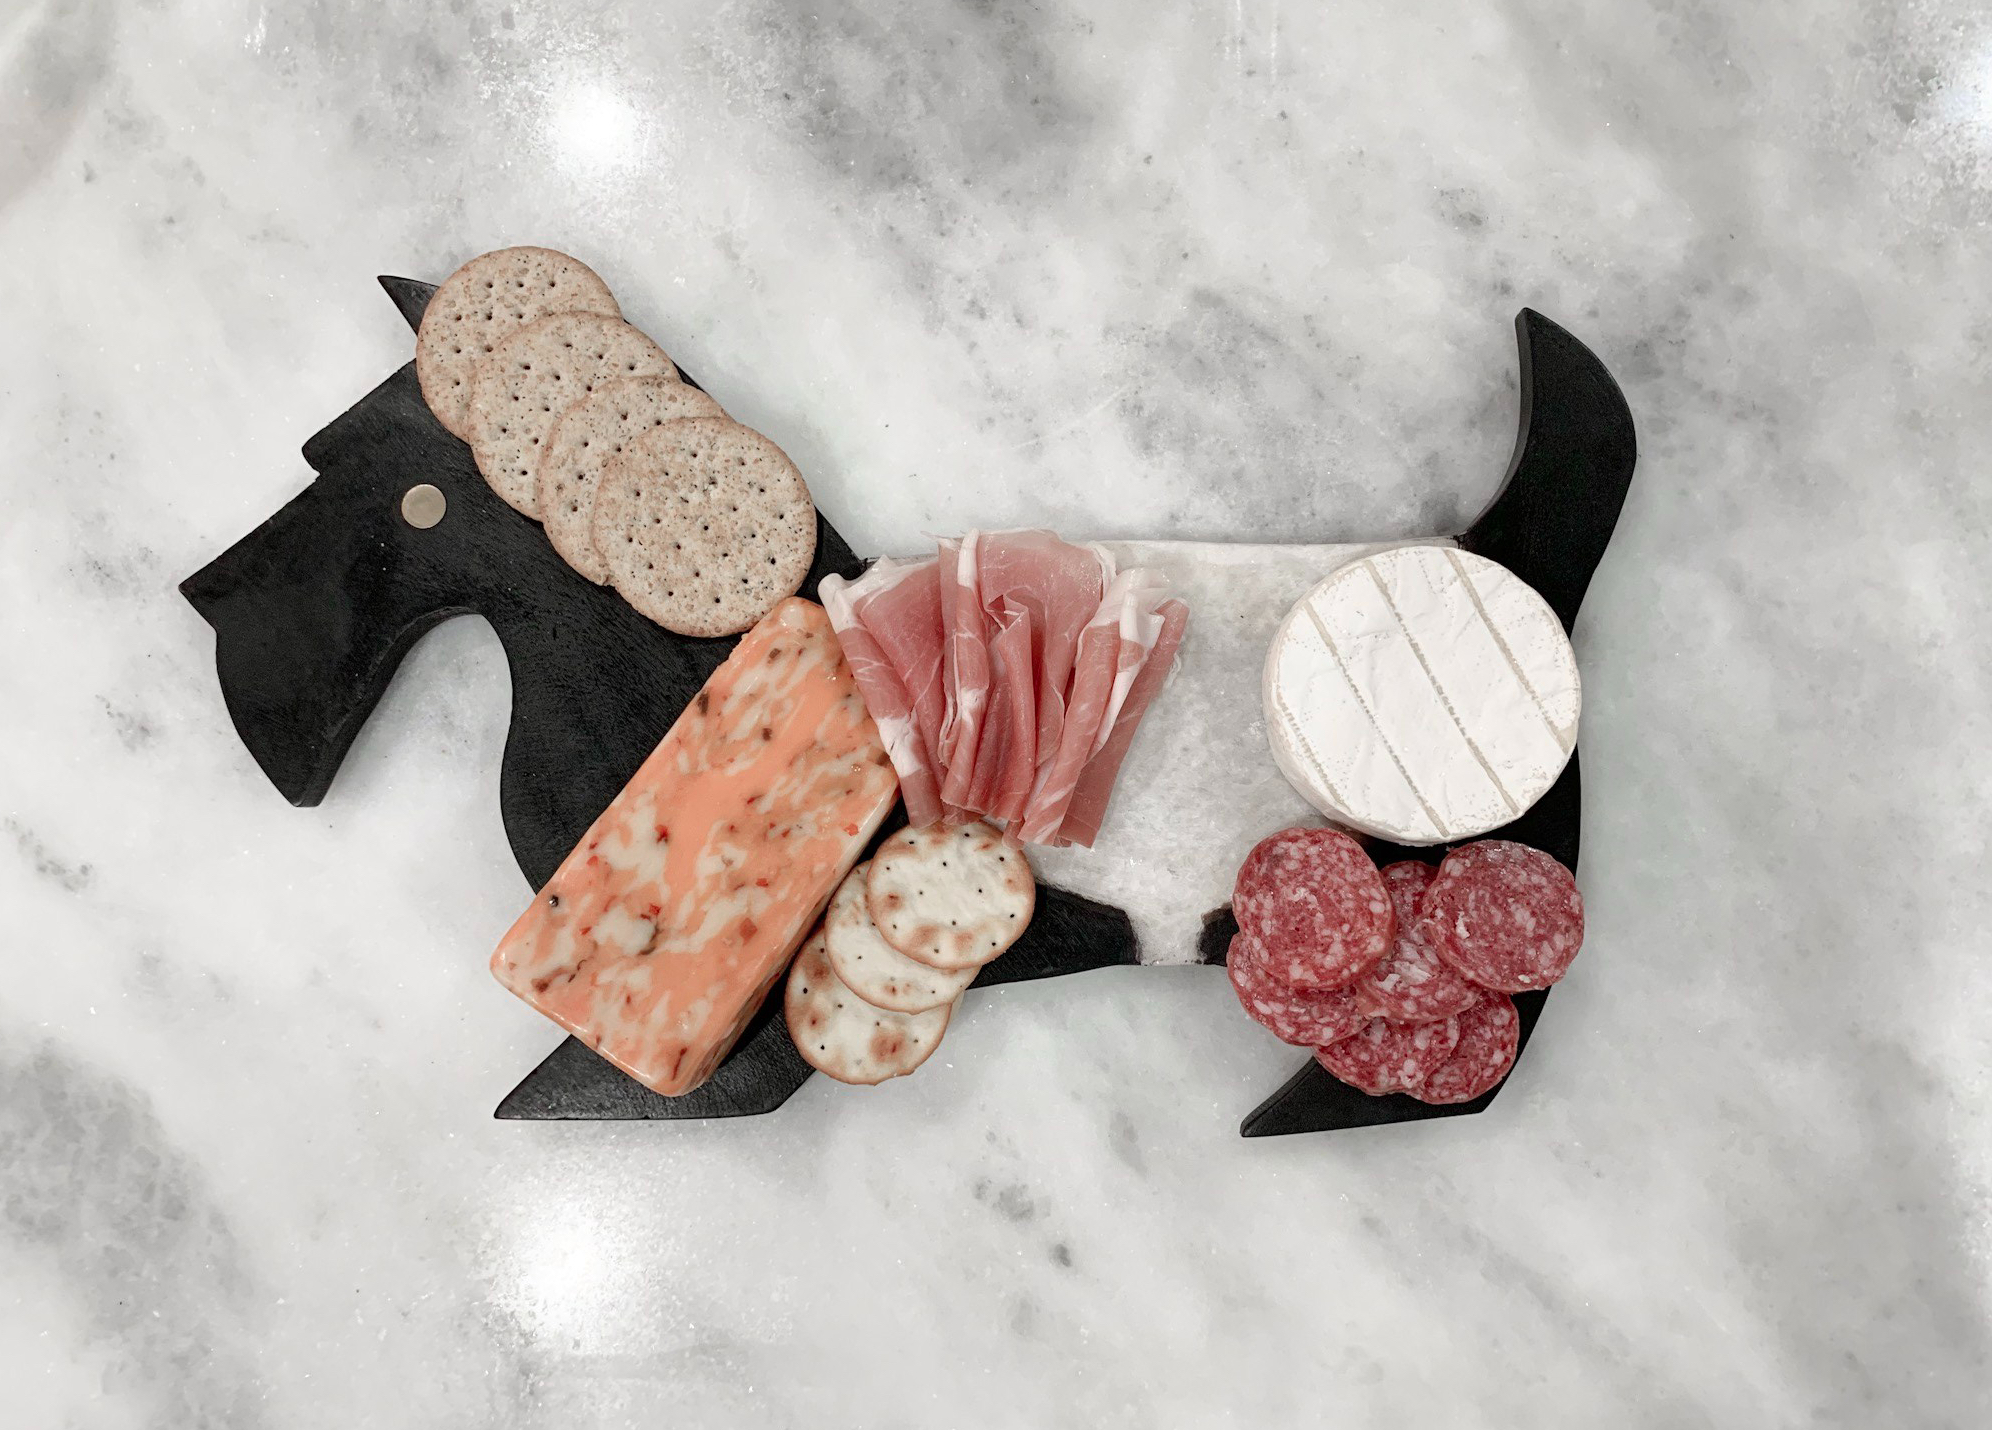
Cracker Details: Pita Chips & Black Pepper & Sea Salt Crackers
The crackers are as important as everything else on this board, BUT it is important (in my opinion, anyway) that the flavors in your cracker don’t overpower your meats and cheeses (They are the stars!). Unfortunately, grain and sesame seed crackers we chose, weren’t available online, but I did link something just as yummy! This would also be a good time to add some cashews, almonds, or peanuts, if you please!
STEP 4: ADD THE FRUIT 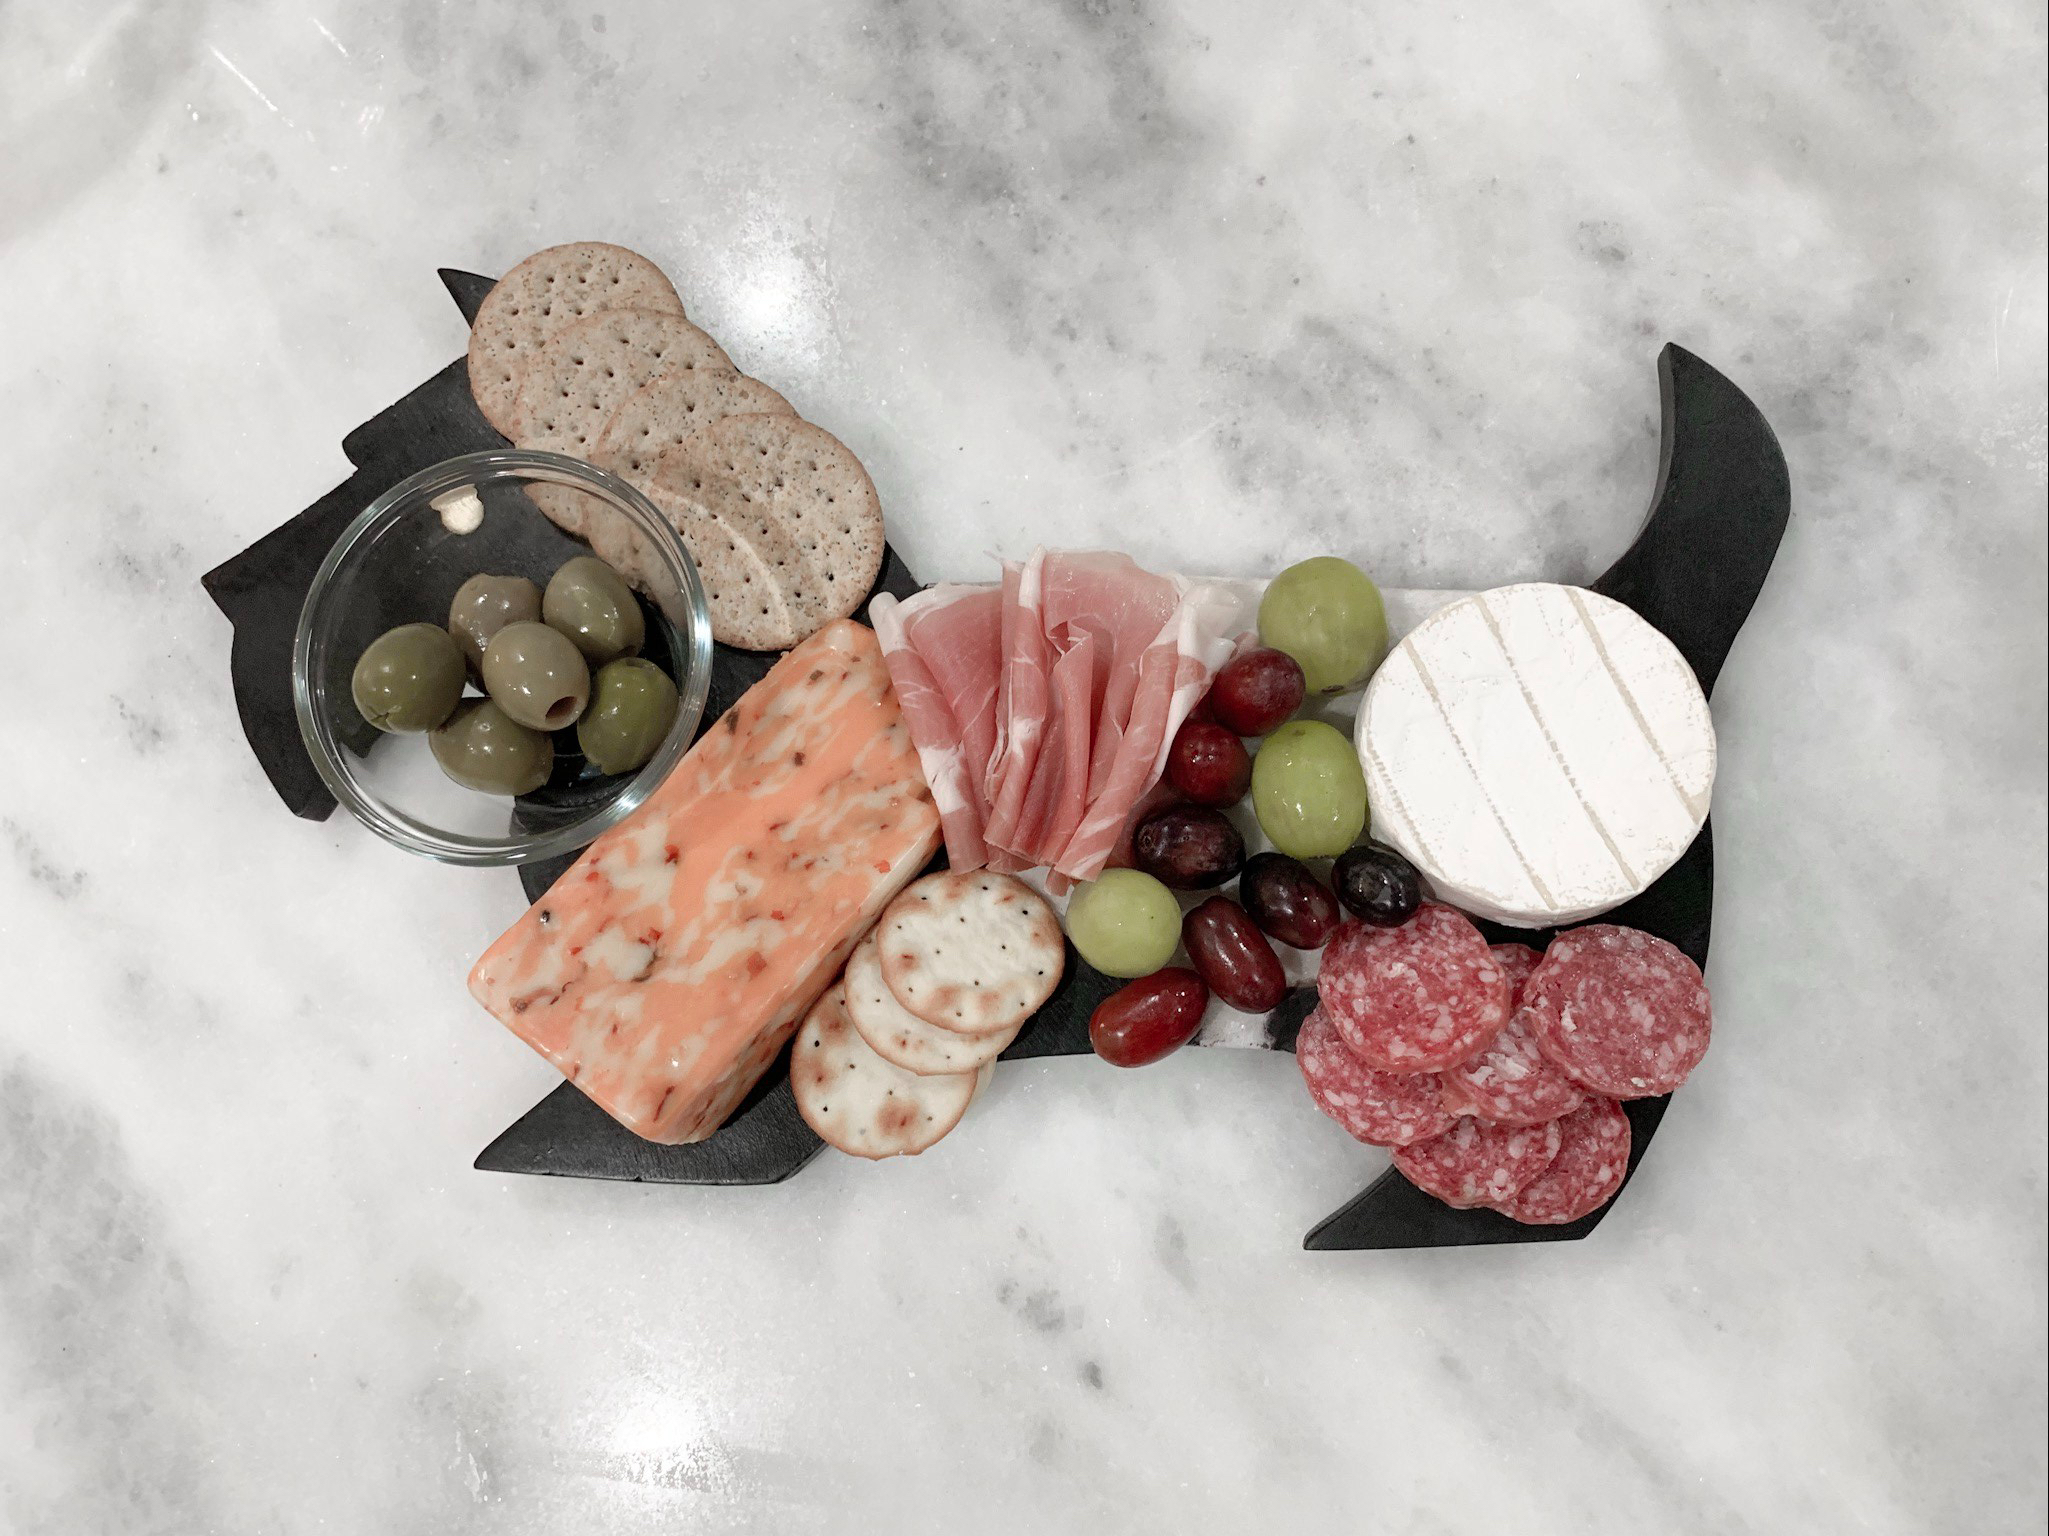
Fruit Details: Texas-Sized Olives.Tri-Color Grapes.
OLIVES ARE FRUIT! It’s true because Google said so, and the internet is never wrong! To add some sweetness, we added grapes to our board. I feel like this would be a great time to add some dried fruit, if that’s your thing. Andie was also craving olives, so they got added to the bunch- always trust the craving!
Finally, STEP 5: POUR THE WINE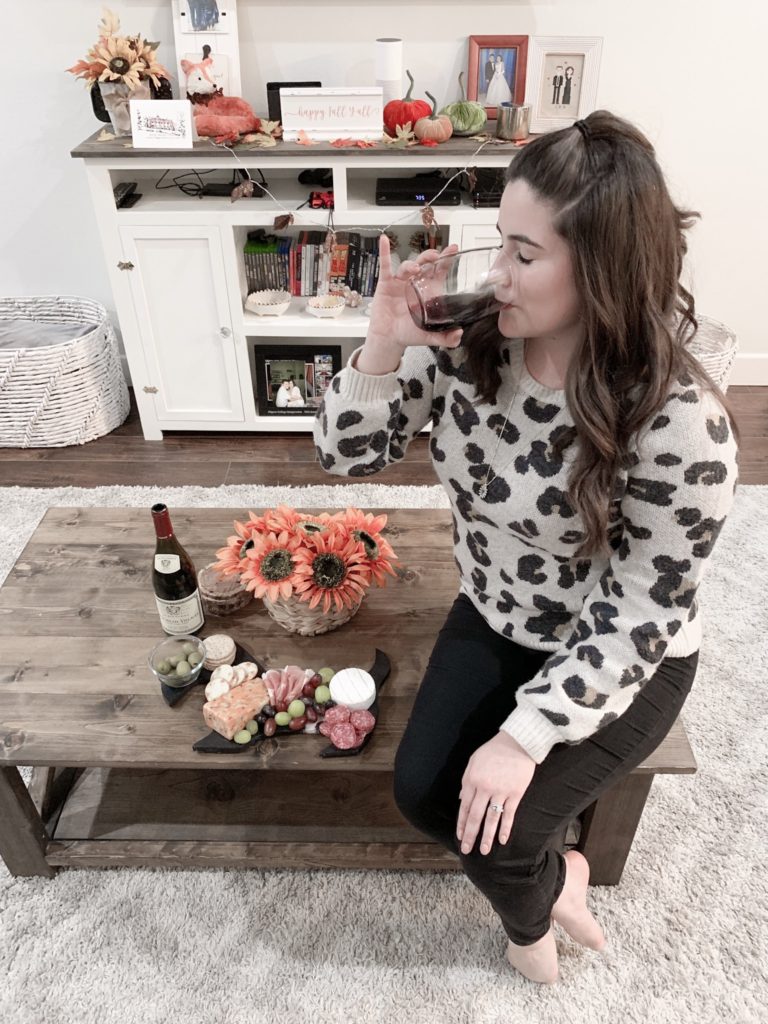
Wine Details: Louis Jabot Beaujolais Villages Wine.
OUTFIT DETAILS: All Right Here.
The last part is definitely the best part! I’m not a wine connoisseur by any means, and I’m actually pretty picky when it comes to wine (picky as in, Moscato and Rose are my fave!). This wine paired so well with our cheese and meats! It went down smoothly and wasn’t too dry (my moscato and rose fans know what I mean). It was also the perfect pairing for the end of a long week!
I hope you all enjoyed this little how-to! I had only consumed cheese boards prior to creating this post, but even I have this step-by-step system down! Another reason why best friends are so important, they’re the best teachers you’ll get after college! Because everything in this post is from H-E-B, and they now offer curbside pick-up or delivery, NOW is the perfect time to order everything you need for a night-in! Do your friends a favor, and suggest a wine and cheese night! The holidays are such a special time and should be spent with the people you love most! Happy Thanksgiving week, my friends!
